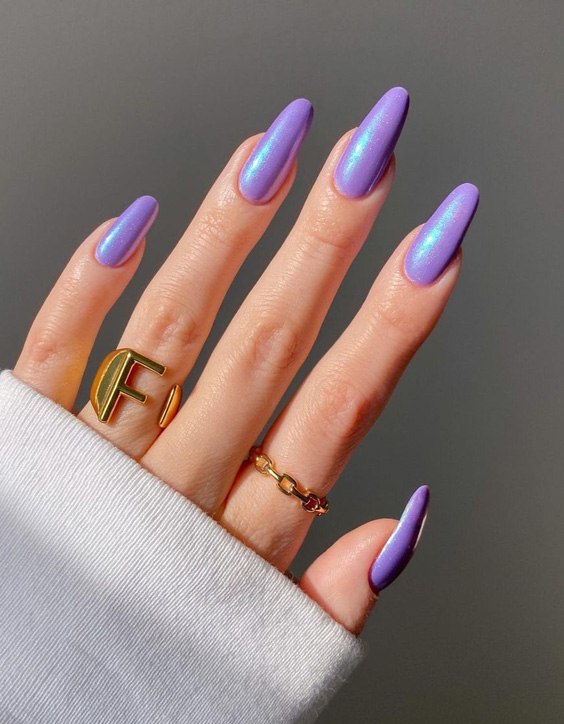
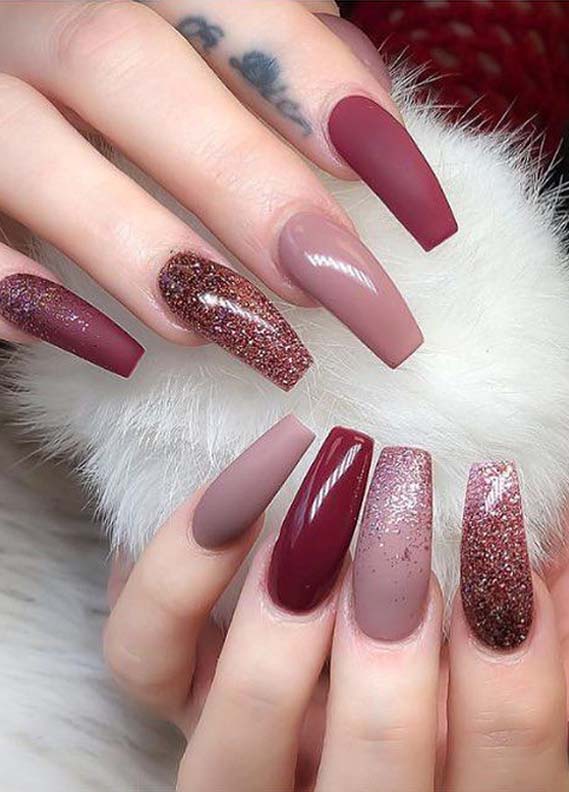
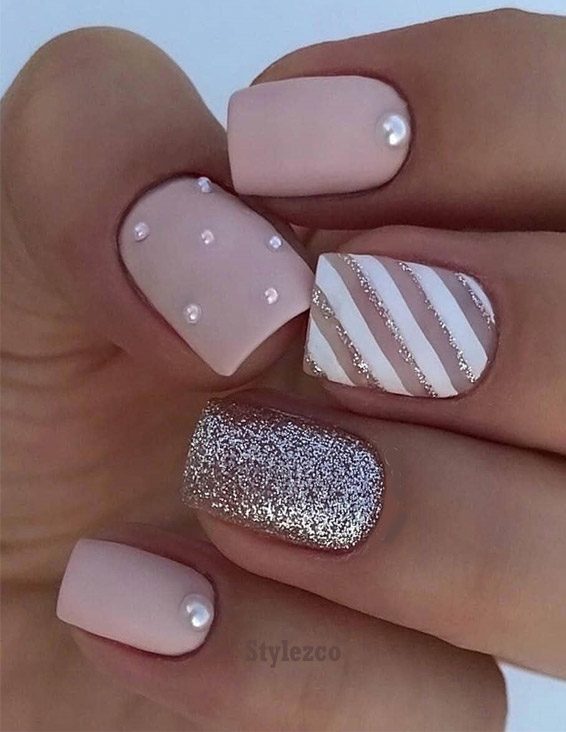
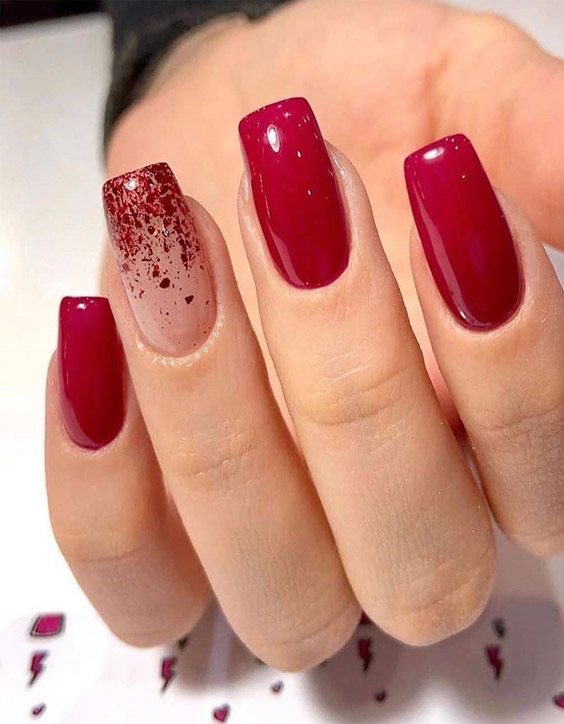
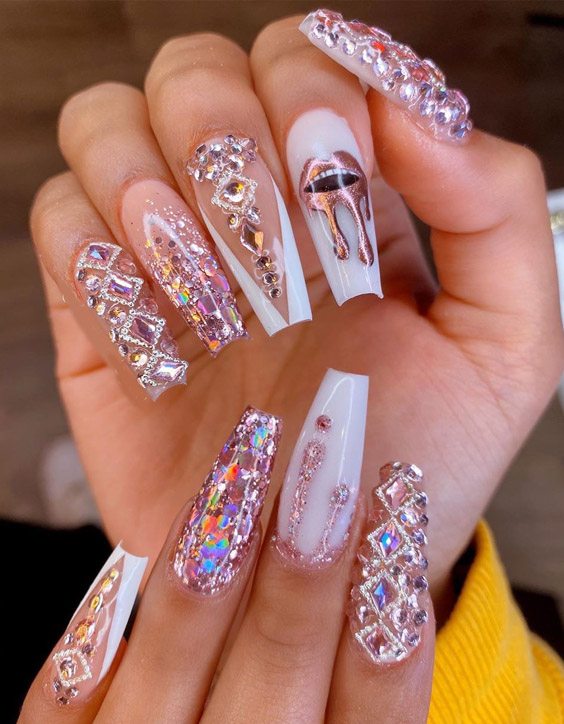
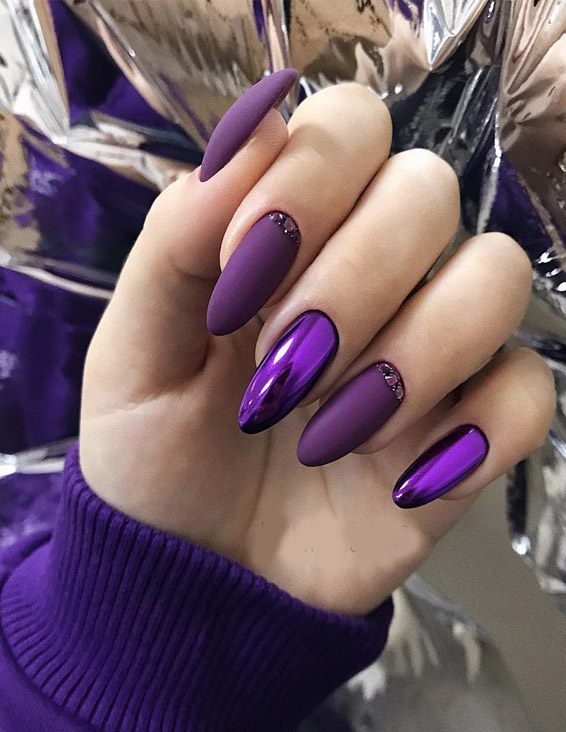
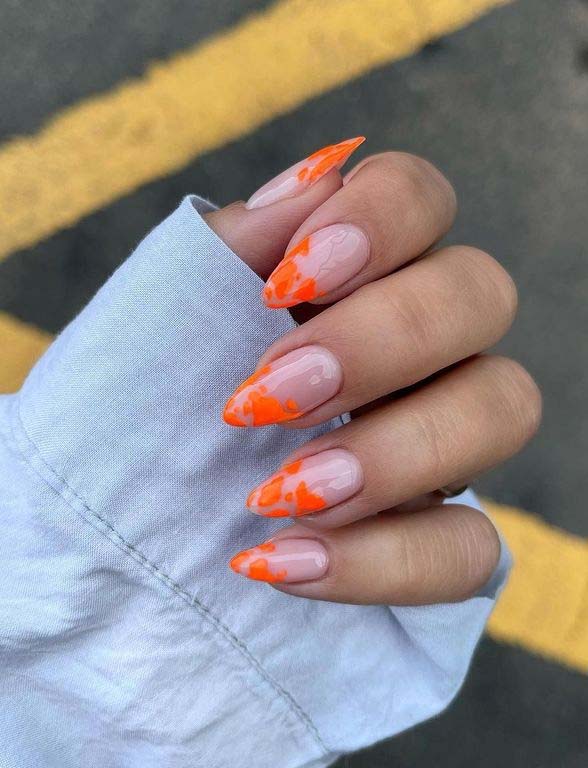
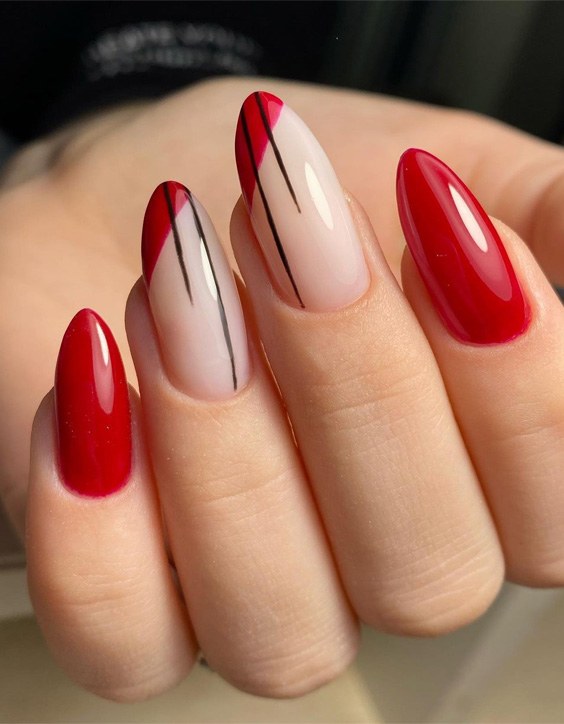
Pretty winter nails don’t have to be overly complicated, they can be just as simple or bold as you’d like them to be.
What You’ll Need:
- Polish
- Base Coat
- Glitter
- Snow Globe Effect
- Snowflake Accent
- Top Coat
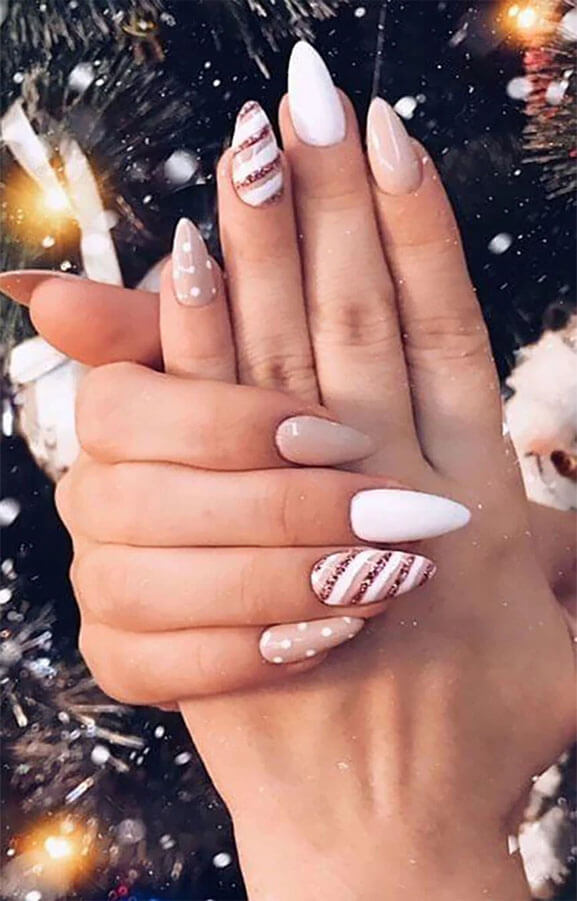
Steps for Winter Nails:
- Apply a Base Coat to seal and protect your nails from the polish.
- Pick a winter nail colour and paint a single, even coat onto each nail.
- Optional: If you want to add glitter, take a bit of glitter on the brush and brush it onto each nail gently for a sparkly effect.
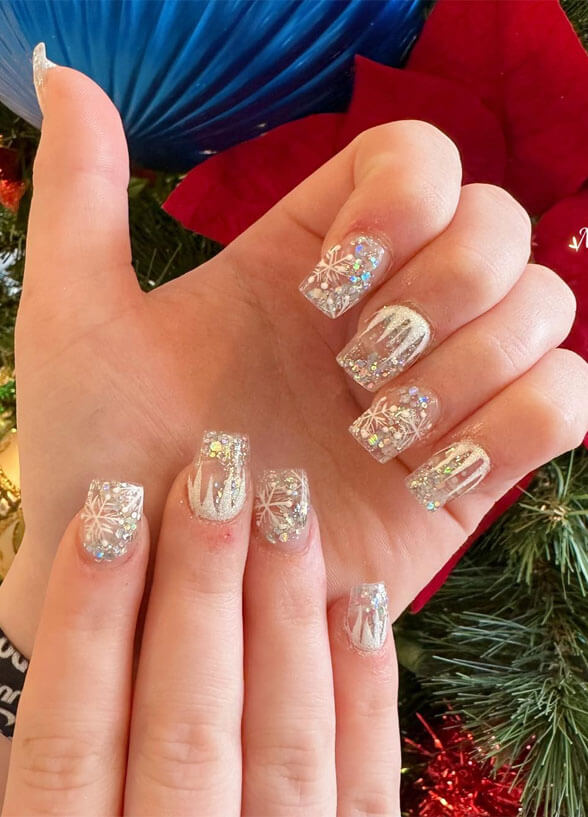
- Add a Snow Globe Effect to your nails using a little sprinkle of glitter – the best way to do this is to place a piece of paper over your nail, then sprinkle glitter onto the paper while your nail is still wet with polish. The glitter will be attracted to the wet polish and will stick to it perfectly.
- To add a Snowflake Accent, pick a large glitter and use it to create a snowflake shape on your nail.
- Finish with a generous Top Coat to seal the design and enjoy your pretty winter nails!
Simple winter nails
1. Classic white snowflake design: Paint your nails with a crisp white base color and use a snowflake decal to create a graceful winter-inspired look.
2. Silver snowfall: Paint your nails a light gray and use a silver glitter to add a falling snow effect.
3. Ombre winter wonderland: Create a stunning ombre effect by layering various shades of gray and adding a sparkling white topcoat.
4. Poinsettia nails: Make your fingertips pop by painting them a bright red before adding a hint of green and yellow details with a marker.
5. Eggnog nails: Paint your nails a creamy beige and give them a festive twist by adding a little bit of brown glitter.
6. Icy blue chevron: Add a daring twist to the classic chevron design by painting your nails a fun icy blue.
7. Snowy mountains: Transform your nails into a winter landscape by giving them a few shades of gray with a few dots of white and silver glitter.
8. Peppermint toes: Give your toenails a minty makeover by painting them a luxurious pink and adding a hint of blue glitter.
Classy winter nails 2023
For a classic winter nail look, stick with a muted winter palette and some glitter for a festive touch. Start with a white or light grey base. Then, add in winter blues, golds, and silvers. Once the base colour is applied, add a thin line of glitter in white, icy blue, or silver, to ensure the look stays subtle but winter-ready. Finish with a layer of glossy top coat to keep your Christmas nails in place.
Winter nail designs
Acrylic nails
nail art
sparkly nails
glitter nails
stiletto nails
french tips
gel nails
pastel nails
ombre nails
marble nails
chrome nails
coffin nails Nail shapes
animal print nails
cuticle designs
chic nails
matte nails
floral nails
dotticure Nails
half moon nails
negative space nails
geometric nails
water marble nails
block color nails
cloud nails
lace nails
To get the perfect winter nail look, start with a base coat of light gray or white. Then, create a festive design with your favorite winter colors, glitter, dotted outlines, or snowflakes. Finish off the look with a glossy top coat to keep your nails looking vibrant and festive all season long!
Pretty Winter Nails Classy
The winter season is here, and that means it’s time to update your nails! Let’s discuss a few of your options for wintery nails that are sure to attract attention.
Nude and Nymph-like:
Nude nails are one of the most popular looks, and they’re ideal for the winter season. Go with a subtle color like beige, taupe, or peach that won’t be overshadowed by all the colorful winter apparel you’ll be wearing. To take your nails up a notch, you might also add a sparkly accent nail for a touch of glitz.
Shimmery White:
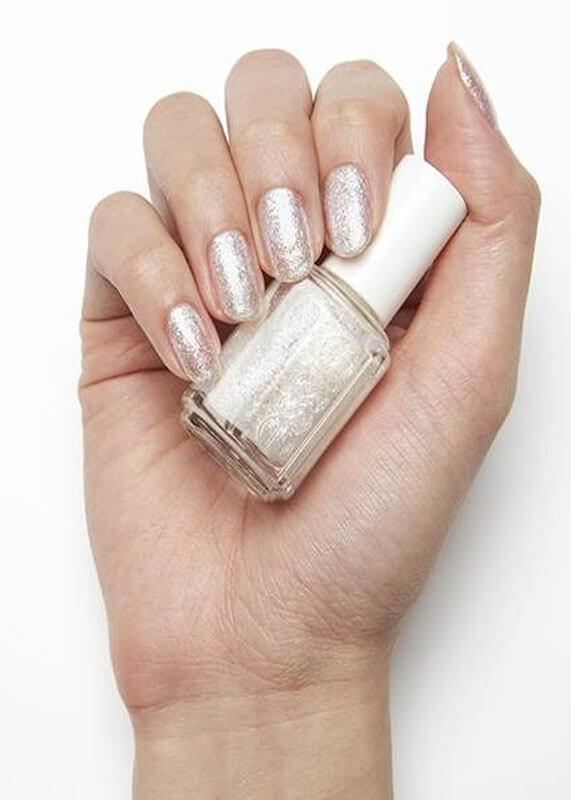
For a glamorous look, try covering all your nails in a sparkly, shimmery white polish. It looks like you’re wearing tiny diamonds on your nails and definitely adds a touch of class.
Metallic Magic:
For a bolder look, go with a metallic color. Some great wintery ones are gold, silver, and copper. These colors really stand out against a white winter backdrop and will instantly upgrade your look.
White with a Twist:
If you just can’t seem to part with your beloved white nail polish, try adding a twist to it. You can paint each nail a different hue of white like eggshell and ivory, or you can add a glitter accent nail with a shiny metallic on top.
Try Some Trends:
Winter nail trends are always fun to try. Here are a few that you might be interested in:
- Snowflakes: Take your winter manicure to the next level with snowflake nail art!
- Glitter Gradient: Give your nails a glam and chic upgrade with a glittery ombre.
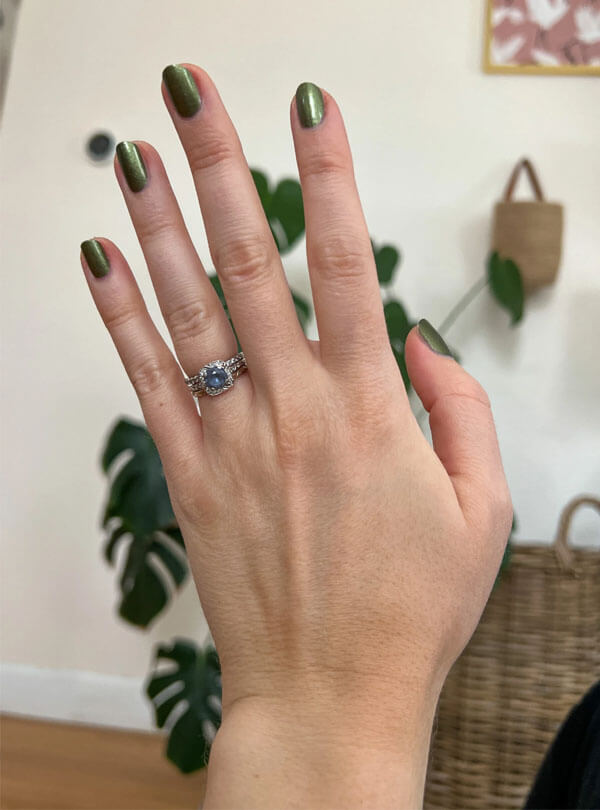
- Dark Foil: Change up the winter-y shades by going with a dark metallic foil.
- Glitter French Tips: Add a trendy twist to your French tip manicure with some glitter.
- Geometric Shapes: Customize your winter nails with fun geometrical shapes like stars and triangles.
Conclusion:
Winter nails don’t have to be boring and dull. You can get creative and customize your style with various shades and trends. So try out a few of your favorite looks this season, and keep your nails looking classy and chic!
